In this lesson, you will learn how to download, install and test the Arduino software (also known as the Arduino IDE).
What you will need:
- A computer (Windows, Mac, or Linux)
- Arduino-compatible microcontroller provided in the Uno Kit
- USB A-to-B cable
Getting Started (Windows)
- Download the latest version of the Arduino software for Windows from the Arduino download page
- Unzip the software and open up the Arduino folder to confirm that yes, there are indeed some files and sub-folders inside. The file structure is important so don’t move any files around unless you really know what you’re doing.
- Power up your Arduino by connecting your Arduino board to your computer with a USB cable (or FTDI connector if you’re using an Arduino pro). You should see the LED labelled ‘ON’ light up. (this diagram shows the placement of the power LED on the UNO).
Installing the Drivers for the Arduino Uno (from Arduino.cc)
- Plug in your board and wait for Windows to begin its the driver installation process
- After a few moments, the process will fail, despite its best efforts
- Click on the Start Menu, and open up the Control Panel
- While in the Control Panel, navigate to System and Security
- Click on System, then Device Manager
- Look under Ports (COM & LPT). You should see an open port named “Arduino UNO (COMxx)”. If there is no COM & LPT section, look under ‘Other Devices’ for ‘Unknown Device’
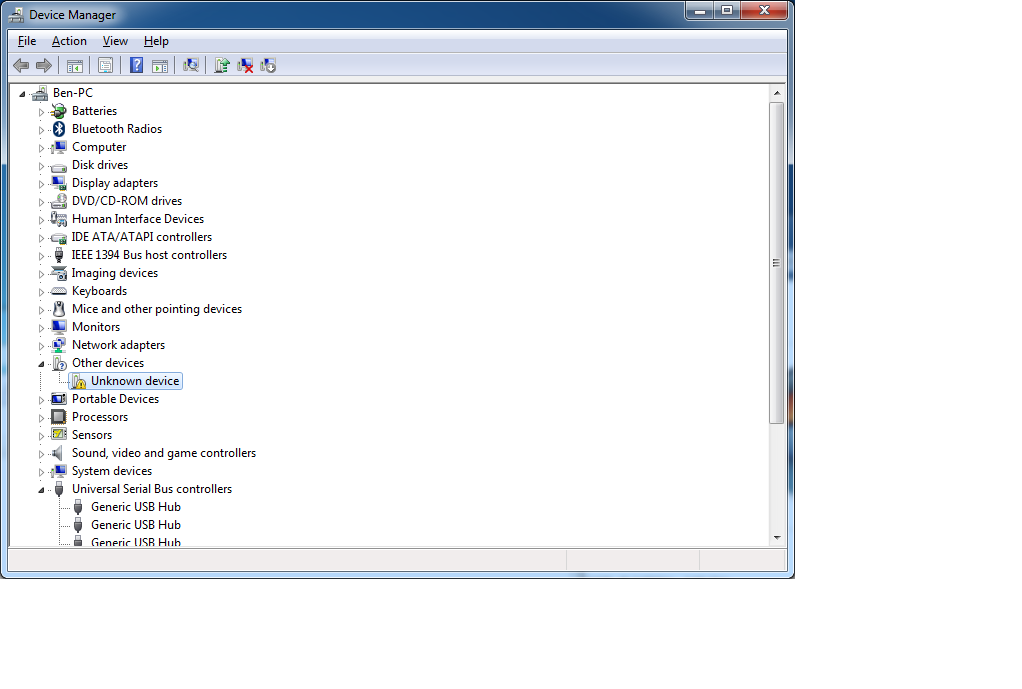
- Right click on the “Arduino UNO (COMxx)” or “Unknown Device” port and choose the “Update Driver Software” option
- Choose the “Browse my computer for driver software” option
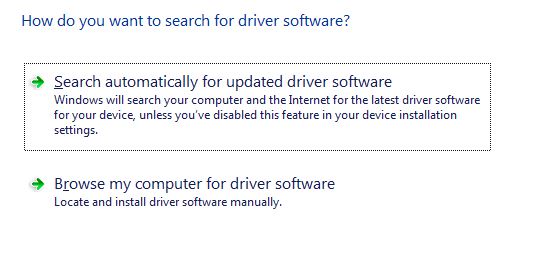
- Navigate to, and select, the Uno’s driver file, named “ArduinoUNO.inf”, located in the “Drivers” folder of the Arduino Software download (not the “FTDI USB Drivers” sub-directory). If you cannot see the .inf file, it is probably just hidden. You can select the ‘drivers’ folder with the ‘search sub-folders’ option selected instead.
- Windows will finish up the driver installation from there
Comments
0 comments
Please sign in to leave a comment.